넷플릭스 대한민국 - 인터넷으로 시리즈와 영화를 시청하세요
스마트 TV, 태블릿, 스마트폰, PC, 게임 콘솔 등 다양한 디바이스에서 영화와 시리즈를 마음껏 즐기세요.
www.netflix.com
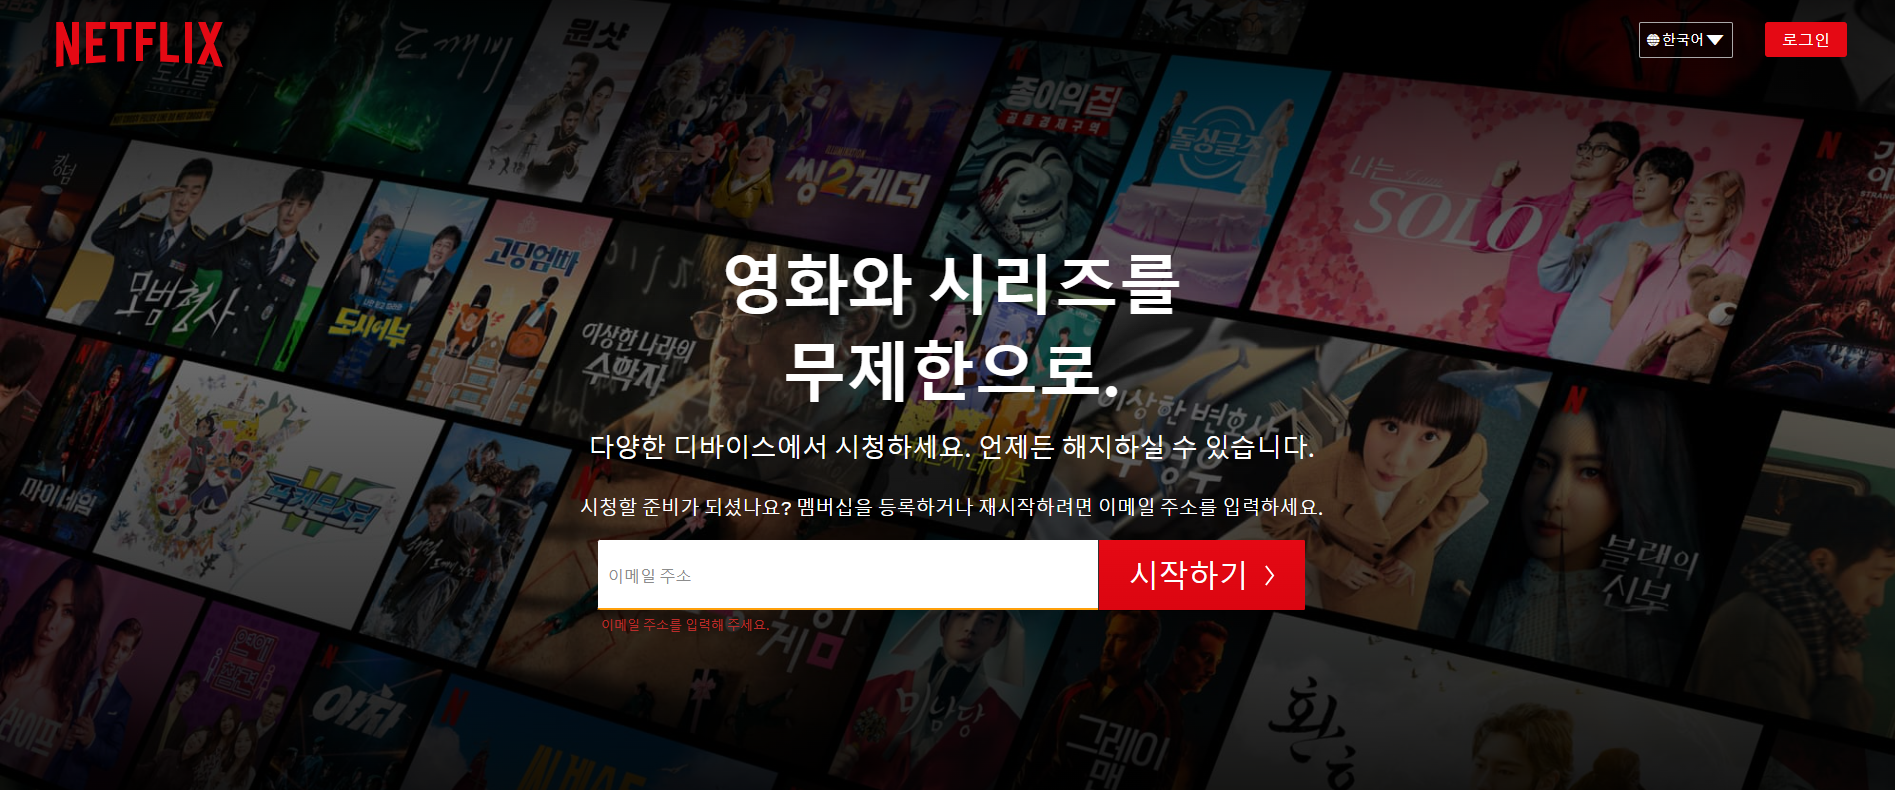
[선정 이유]
사진은 넷플릭스 홈페이지의 헤더부분(?)인데 백그라운드에 이미지가 사용되었고
가운데는 상대적으로 밝은 반면, 위 아래는 상대적으로 어두운 그라데이션 효과가 들어가 있다.
마침, 백그라운드에 이미지 넣는 법, 그라데이션 입히는 법을 오늘 배워서 이것을 활용할 수 있는
좋은 예가 될 것 같아 클론 코딩으로 선정하게 되었다.
[첫번째로 할일]
헤더 부분의 영역을 지정해서 그 영역 안에 background에 이미지를 불러 와야한다.
넷플릭스는 width는 화면 전체로 하고 높이는 770 정도를 주고 있었다. (정확하게는 770.59)
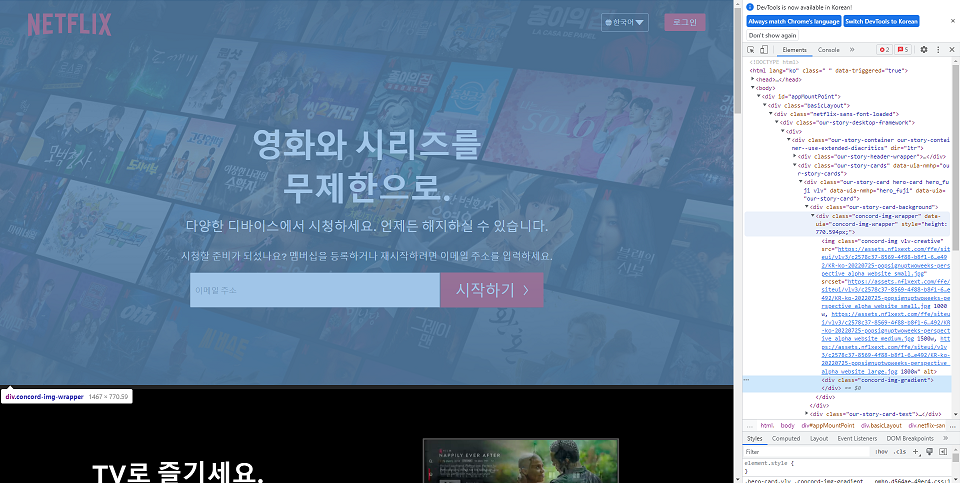

그럼 HTML로 헤더 영역을 만들어 준 후
CSS로 영역을 지정해 준다.
<head>
<style>
       .header{
        width: 100%;
        height: 770.59px;
	}
</style>
</head>
<body>
    <div class="container">
        <div class="header">

        </div>
    </div>
</body>
[이미지 넣기]
우선 넷플릭스 페이지에서 개발자 도구를 켜서 이미지의 주소를 알아낸다.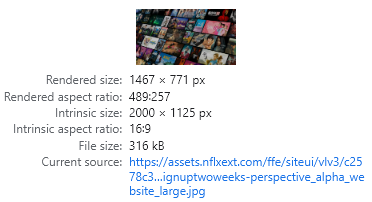
그 후 CSS로 돌아와서
아래와 같이 작성해 주면 된다.
<head>
<style>
       .header{
        width: 100%;
        height: 770.59px;
        background: url(https://assets.nflxext.com/ffe/siteui/vlv3/c2578c37-8569-4f88-b8f1-67a26a9ddcdd/3c416346-137b-428b-849b-3c2b3014e492/KR-ko-20220725-popsignuptwoweeks-perspective_alpha_website_large.jpg);
    	background-size:cover;
    	background-position: center;
	}
</style>
</head>
<body>
    <div class="container">
        <div class="header">

        </div>
    </div>
</body>
background에 url 주소를 넣어주고
background-size는 cover로 하고
background-position은 center로 지정한다.
| background-size: cover 배경 영역이 이미지로 완전히 덮히도록 이미지를 크게해서 표시하기때문에 이미지의 상하좌우가 보이지 않을 수 있다. |
그렇게 하면 이렇게 화면의 상하좌우가 살짝씩 짤려서 나오게 된다.
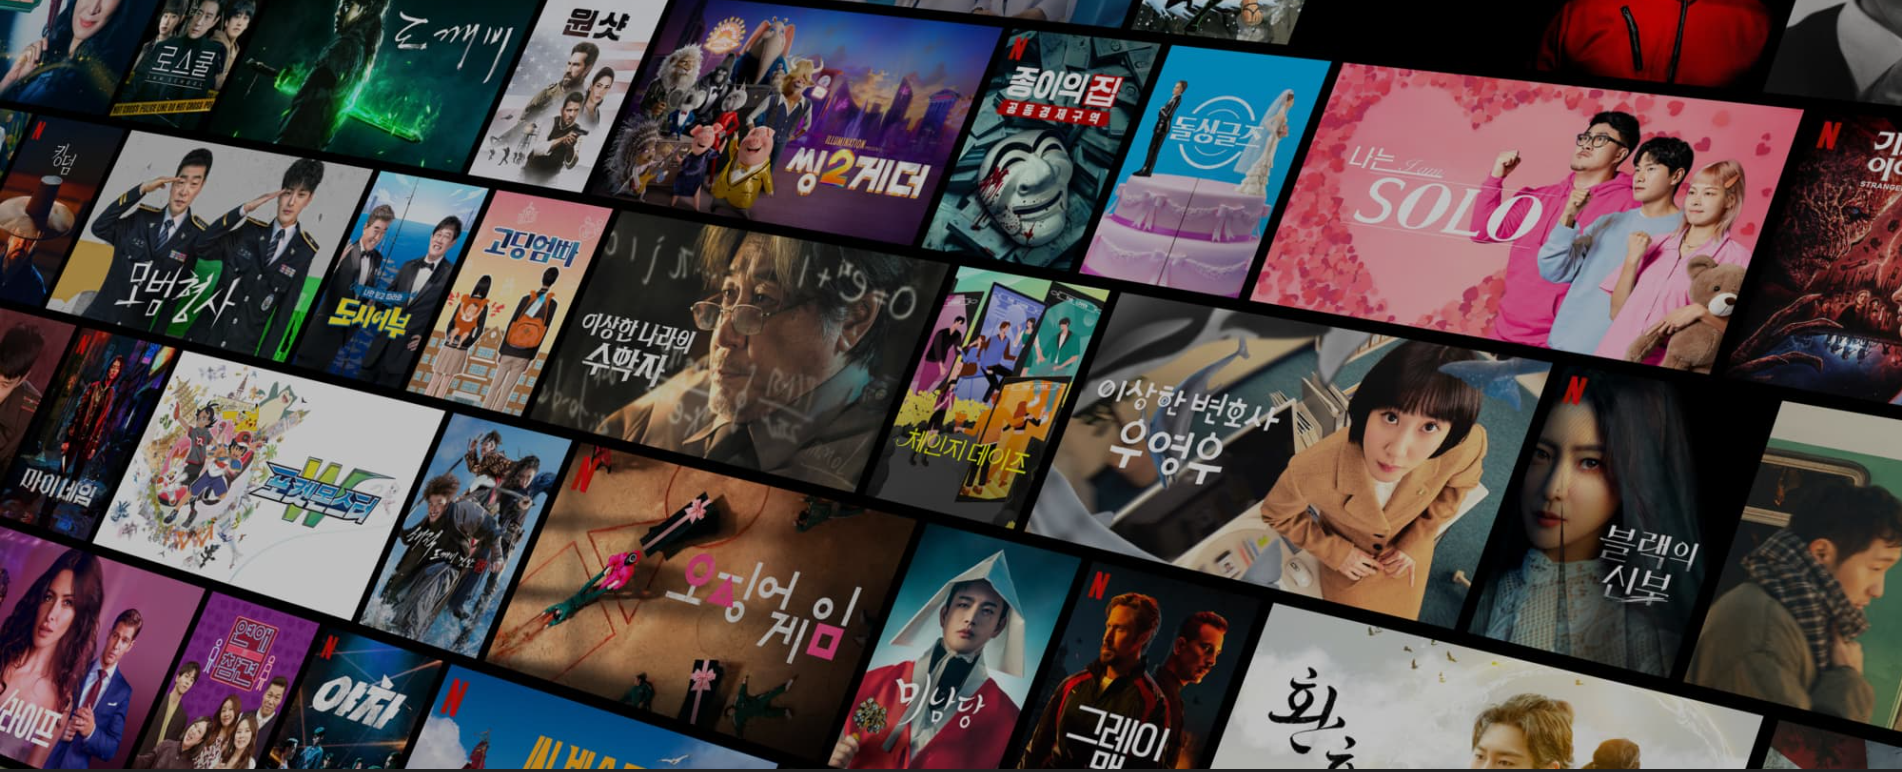

넷플릭스 페이지와 비교했을 때 이미지가 적당한 비율로 잘 짤린 것을 확인할 수 있다.
[그라데이션 넣어주기]
CSS코드에 아래와 같은 코드만 넣어주면 그라데이션이 적용된다.
.header::before{
    content: '';
    background: linear-gradient(to bottom, rgba(0, 0, 0, 0.850), rgba(0, 0, 0, 0.400), rgba(0, 0, 0, 0.900));
    position: absolute;
    top: 0px;
    height: 770.59px;
    width: 100%;
}
백그라운에 그라데이션을 주는데 주는 위치를 top: 0px에서 width는 100% 다 채워주고 세로 770.59까지 준다.
| background: linear-gradient 선형 그라데이션을 넣어주는 역할을 한다. top, right, bottom, left 모든 방향으로 그라데이션이 가능하다. to bottom bottom까지 그라데이션을 적용하라는 의미로 bottom 대신에 top, right, left 모두 가능하다. 색상 시작 지점부터 끝까지 어떤 색상을 입힐건지 지정해주는 것이다. 위 코드 같은 경우, 0,0,0,0.850의 색상을 시작해서 중간은 0,0,0,0.400 끝 부분은 0,0,0,0.900을 지정해 주는 것이다. %로 지정도 가능하다. |
적용을 하면 아래와 같이 된다.
이제 여기 위에서 HTML,CSS를 꾸미면 된다.

[header부분 HTML 완성하기]
상단에 로고 select, 버튼이 있고 중간에 텍스트 3개가 있다.그 아래는 이메일 form과 버튼으로 구성되어 있다.이를 참고해서 HTML을 만들면
<body>
    <div class="container">
        <div class="header">
            <div class="header-top">
                <img src="Netflix-Logo.png" alt="넷플릭스 로고">

                <div>
                    <select name="lang" id="lang">
                        <option value="">한국어</option>
                        <option value="">English</option>
                    </select>
                    <button>로그인</button>
                </div>
            </div>

            <h1>영화와 시리즈를 <br> 무제한으로.</h1>
            <h2>다양한 디바이스에서 시청하세요. 언제든 해지하실 수 있습니다.</h2>
            <h3>시청할 준비가 되셨나요? 멤버십을 등록하거나 재시작하려면 이메일 주소를 입력하세요.</h3>
            <form>
                <input type="email" name="email" id="email" placeholder=" 이메일 주소">
                <button type="submit">시작하기 <i class="fa-solid fa-angle-right"></i></button>
            </form>

        </div>
    </div>
</body>
이런 식으로 만들 수 있을 것이다.
이렇게 하고 이제 CSS를 꾸며주면 된다.
[CSS 완성하기]
flex 같은 걸 쓰면 그라데이션 떄문인지 어둡게 나와서
position: absolute, relative로 위치를 직접 조정하여 만들었다.
body{
    margin: 0px;
    padding: 0;
    background-color: rgb(34, 34, 34);
}

.header{
    width: 100%;
    height: 770.59px;
    background: url(https://assets.nflxext.com/ffe/siteui/vlv3/c2578c37-8569-4f88-b8f1-67a26a9ddcdd/3c416346-137b-428b-849b-3c2b3014e492/KR-ko-20220725-popsignuptwoweeks-perspective_alpha_website_large.jpg);

    background-size:cover;
    background-position: center;
}

.header::before{
    content: '';
    background: linear-gradient(to bottom, rgba(0, 0, 0, 0.850), rgba(0, 0, 0, 0.400), rgba(0, 0, 0, 0.900));
    position: absolute;
    top: 0px;
    height: 770.59px;
    width: 100%;
}

.header .header-top img{
    position: absolute;
    width: 205px;
    left: 37px;
    top: -10px;
}

.header .header-top select{
    position: absolute;
    right: 170px;
    top:27px;
    width: 93px;
    height: 37px;
    border: 1px solid rgb(255, 255, 255);
    background-color: black;
    color: white;
    border-radius: 4px;
    font-size: 14px;
    text-align: center;
}

.header .header-top button{
    width: 86px;
    height: 39px;
    position: absolute;
    top: 25px;
    right: 53px;
    background-color: rgb(229, 9, 20);
    color: white;
    border-radius: 5px;
    font-size: 16px;
}

.header h1{
    position: relative;
    text-align: center;
    color: white;
    padding-top: 242px;
    margin: 0;
    font-size: 64px;
    margin-bottom: 0;
    font-family: sans-serif;
}

.header h2{
    position: relative;
    text-align: center;
    color: white;
    font-weight: normal;
    margin: 18px 0;
    font-size: 26px;
}

.header h3{
    position: relative;
    text-align: center;
    color: white;
    font-weight: normal;
    font-size: 19px;
    margin-top: 30px;
}

.header form{
    position: relative;
    display: flex;
    justify-content: center;
    align-items: center;
}

.header form #email{
    width: 500px;
    height: 70px;
    font-size: 16px;
    border-radius: 2px;
    border: none;
    border-right: 3px solid black;
}
#email:focus {outline:none;}

.header form button{
    display: flex;
    justify-content: center;
    align-items: center;
    width: 207.5px;
    height: 69px;
    outline: 2px solid rgb(229, 9, 20);
    font-size: 30px;
    background-color: rgb(229, 9, 20);
    border: none;
    color: white;
    border-radius: 0.5px;
}
.header form button i{
    font-size: 27px;
    font-weight: none;
    margin-left: 15px;
}
[결과 확인하기]
내가 만든 거
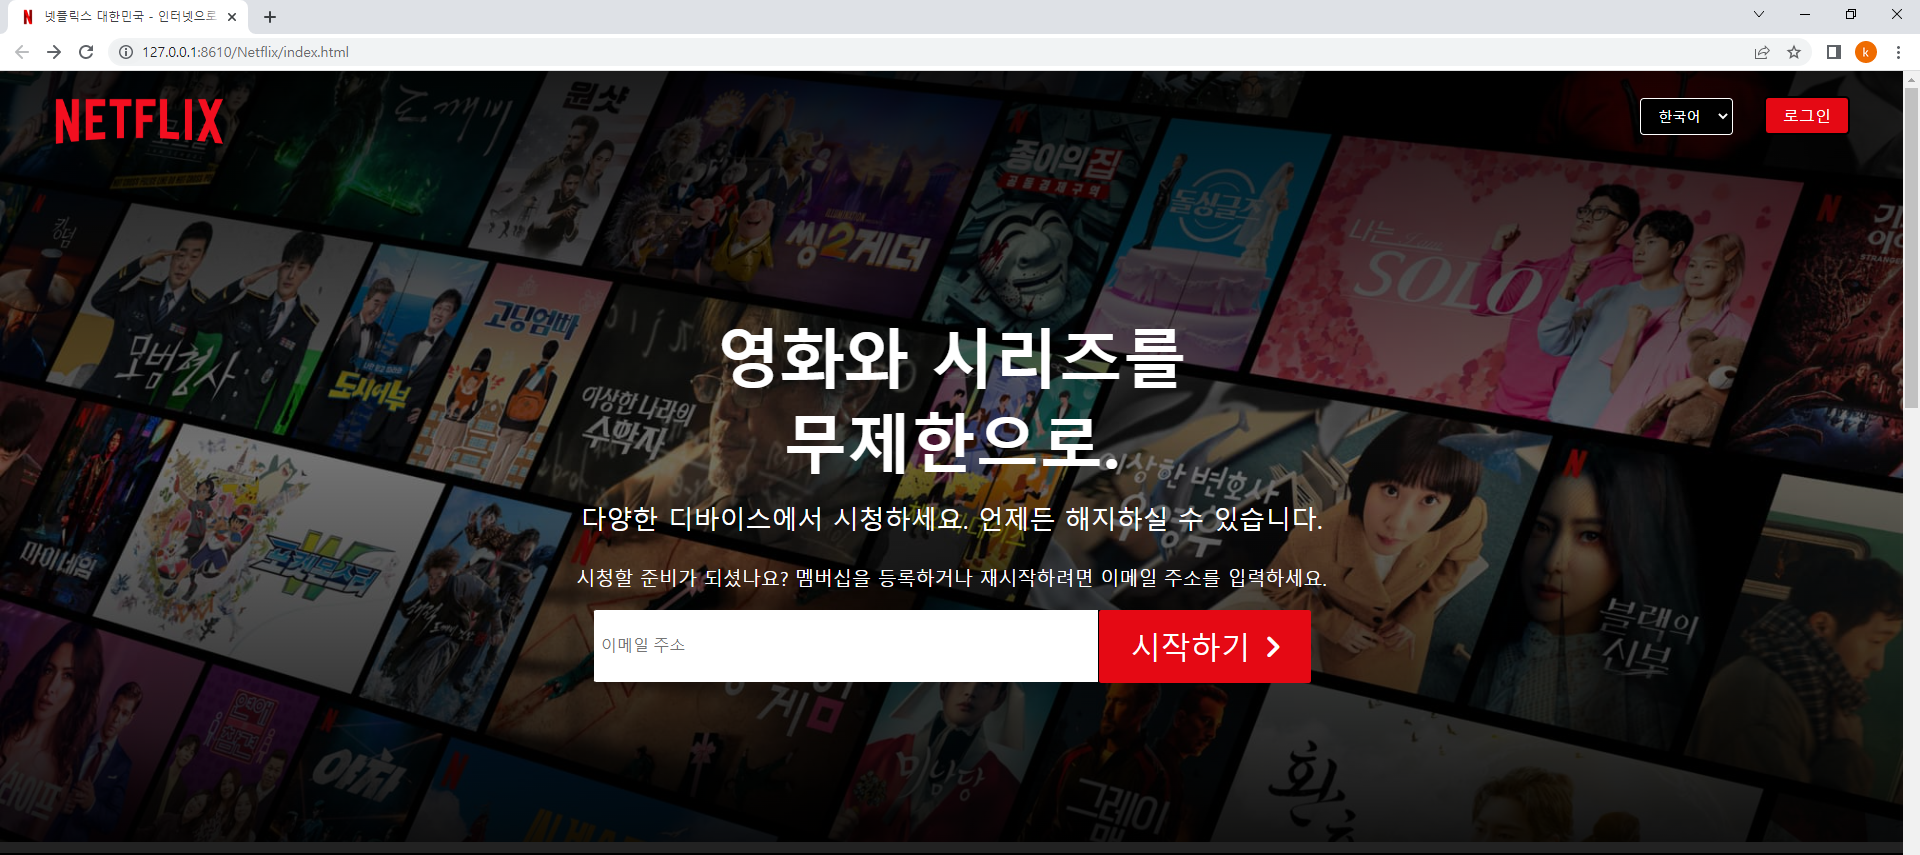
넷플릭스 페이지

[아쉬운점]
select 박스의 지구 아이콘과 화살표를 넣고 싶은데 잘 안되었다.
(select 박스에 아이콘을 넣으면 계속 깨지는데 그 이유는 아직 잘 모르겠다.) 
'따라쟁이' 카테고리의 다른 글
| HTML과 CSS로 구글 메인 페이지를 만들어보자! 3 (0) | 2022.07.26 |
|---|---|
| HTML과 CSS로 구글 메인 페이지를 만들어보자! 2 (0) | 2022.07.25 |
| HTML과 CSS로 구글 메인 페이지를 만들어보자! 1 (0) | 2022.07.24 |
| HTML과 CSS로 Spotify 메인 홈페이지를 만들어보자! (0) | 2022.07.23 |


