https://conquer-it.tistory.com/184
개발환경 구축을 완료하고 터미널에 npm start를 작성하면
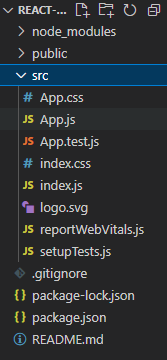

많은 파일과 새로운 웹 페이지가 만들어진 것을 볼 수 있다.
React 수정하는 법!
우리가 npm start를 작성하면 src안에 있는 index.js를 동작시킨다.
그렇다면 index.js에는 어떤 코드가 있을까?
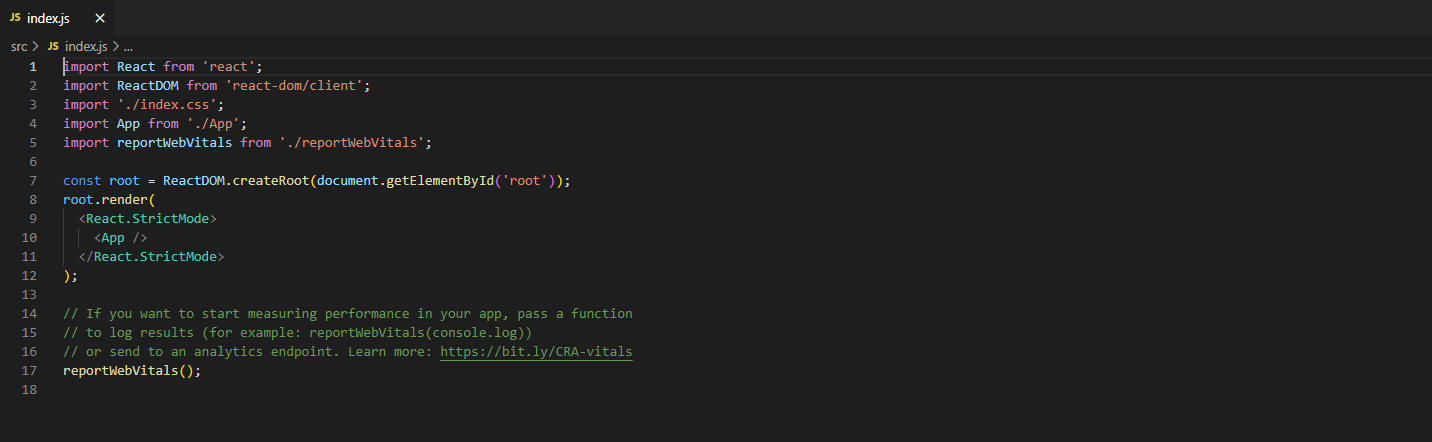
import React from 'react';
import ReactDOM from 'react-dom/client';
import './index.css';
import App from './App';
import reportWebVitals from './reportWebVitals';

const root = ReactDOM.createRoot(document.getElementById('root'));
root.render(
  <React.StrictMode>
    <App />
  </React.StrictMode>
);
React.StrictMode 태그 안에 <App />이라는 태그가 있다.
만약 이것을 지우면? 웹 페이지가 사라지는 것을 볼 수 있다.
우리는 이것을 통해 <App />이라는 태그가 웹 페이지의 UI 전체라는 것을 알 수 있게 되었다.
그렇다면 <App />이 담고 있는 코드는 어디있을까?
위의 코드를 보면 상단에
import App from './App';
이라고 있을 것이다. 이것의 의미는
"App이라는 태그는 현재 디렉토리의 App.js파일에서 온 것이다."이다.
그래서 현재 디렉토리의 App.js를 가보면 아래와 같이 생긴 것을 볼 수 있다.
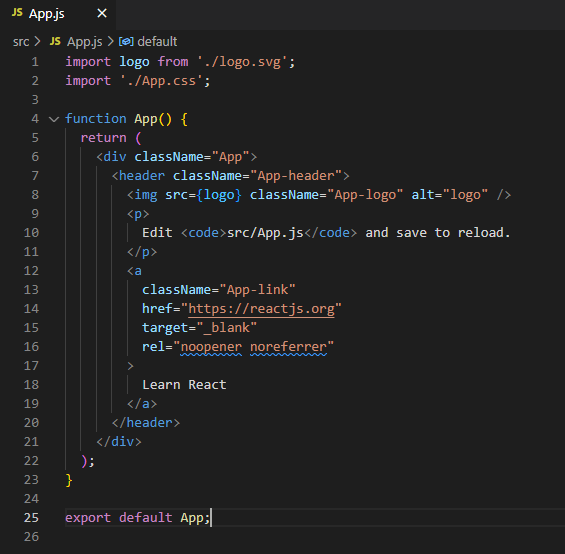
정말 <App />이 웹페이지 UI의 전체를 나타내는지 확인해보기 위해
App함수가 return하고 있는 코드를 수정해 보면 잘 수정되는 것을 볼 수 있다.
import logo from "./logo.svg";
import "./App.css";

function App() {
  return <div className="App">hello React!</div>;
}

export default App;
그런데 잘 보면 hello React!라는 글이 좌측 상단에 위치하는 것이 아니라
가운데 위치해 있는 것을 볼 수 있다. 어떻게 저기 위치해 있는 것일까?
바로 CSS 때문이다.
그렇다면 CSS 파일은 어디있을까?
위의 코드를 보면 아래처럼 나와있다.
import "./App.css";
이 코드의 의미는
'css는 현재 디렉토리의 App.css 파일에서 온 것이다.'라는 의미로 해석할 수 있다.
그래서 현재 디렉토리의 App.css 파일을 열어보면
.App {
  text-align: center;
}

.App-logo {
  height: 40vmin;
  pointer-events: none;
}

@media (prefers-reduced-motion: no-preference) {
  .App-logo {
    animation: App-logo-spin infinite 20s linear;
  }
}

.App-header {
  background-color: #282c34;
  min-height: 100vh;
  display: flex;
  flex-direction: column;
  align-items: center;
  justify-content: center;
  font-size: calc(10px + 2vmin);
  color: white;
}

.App-link {
  color: #61dafb;
}

@keyframes App-logo-spin {
  from {
    transform: rotate(0deg);
  }
  to {
    transform: rotate(360deg);
  }
}
위와 같은 코드가 있고 이것을 또 마음대로 수정하면 아래와 같이 바뀌는 것을 볼 수 있다.
body{
  background-color: gray;
  color: tomato;
  font-size: 3em;
}
다시 index.js 파일로 가 보면 index.css 파일도 import 되어 있는 것을 볼 수 있다.
import React from 'react';
import ReactDOM from 'react-dom/client';
import './index.css';
import App from './App';
import reportWebVitals from './reportWebVitals';

const root = ReactDOM.createRoot(document.getElementById('root'));
root.render(
  <React.StrictMode>
    <App />
  </React.StrictMode>
);
만약 index.css 파일에 있는 내용도 모두 지운다면
기본적으로 sampleApp에서 사용하던 모든 CSS를 초기화 했다고 생각하면 된다.
React 배포본 만드는 방법!
현재 우리가 만든 코드를 배포를 하고 싶다면 저 상태로 배포하기엔 용량이 매우 클 것이다.
그렇기 때문에 배포를 할 때는 코드를 최대한 다이어트를 시켜 배포를 해야한다.
그렇다면 어떻게 용량을 줄일 수 있을까?
React 파일을 열어둔 상태에서
Terminal > new Terminal 선택
터미널에 npm run build 작성 후 Enter!
잠시 기다리면 아래처럼 완료가 된다
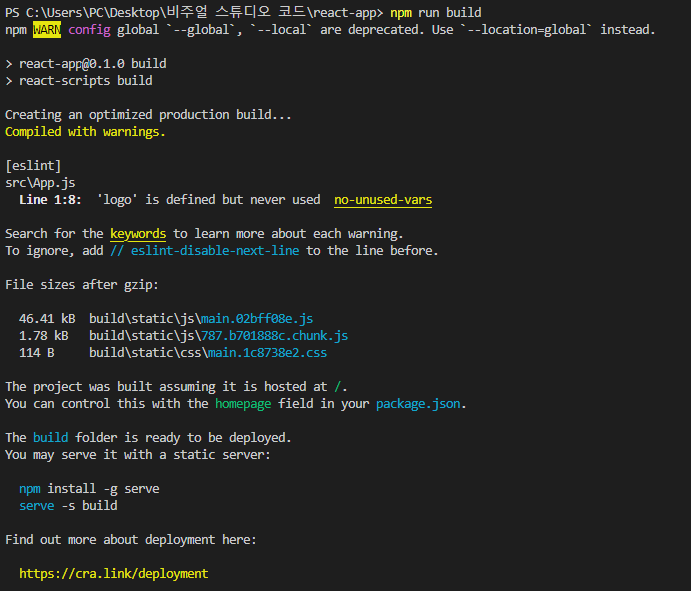
완료가 되면 전에는 없던 build 폴더가 생성된 것을 볼 수 있다.
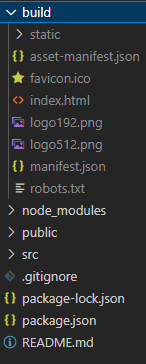
build 안에 있는 index.html 파일을 열어보면 공백조차 없는 한줄짜리 코드로 다이어트가 된 것을 볼 수 있다.
<!doctype html><html lang="en"><head><meta charset="utf-8"/><link rel="icon" href="/favicon.ico"/><meta name="viewport" content="width=device-width,initial-scale=1"/><meta name="theme-color" content="#000000"/><meta name="description" content="Web site created using create-react-app"/><link rel="apple-touch-icon" href="/logo192.png"/><link rel="manifest" href="/manifest.json"/><title>React App</title><script defer="defer" src="/static/js/main.02bff08e.js"></script><link href="/static/css/main.1c8738e2.css" rel="stylesheet"></head><body><noscript>You need to enable JavaScript to run this app.</noscript><div id="root"></div></body></html>
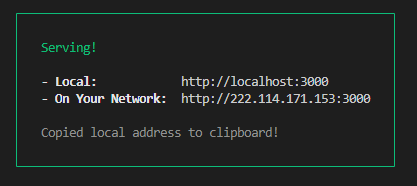
배포본 파일을 한번 확인해보고 싶다면 다시 터미널로 가서
npx serve -s build를 작성하면 아래와 같이 뜨고 저 링크로 가면
배포판 리액트가 정상정으로 잘 뜨는 것을 확인해 볼 수 있다.

'React' 카테고리의 다른 글
| [React] state를 이용해 간단한 count 기능을 만들어보자 (0) | 2023.02.03 |
|---|---|
| [React] React의 state란? (0) | 2023.01.30 |
| [React] React의 props 이해하기 (0) | 2023.01.27 |
| [React] React 컴포넌트(component)란? (0) | 2023.01.25 |
| [React] React 개발 환경 구축하기 (0) | 2023.01.20 |


